Have you ever thought on how to make a homemade inversion table or how to do inversion therapy without a table? It may seem like an impossible task, but actually, it’s quite easy, especially if you are handy around the house and have the right tools and materials at hand. Here are steps to follow to make your own homemade inversion table that will be just as effective as those sold at stores for hundreds of dollars. The only question is, why didn’t you do this sooner?
What is an Inversion Table
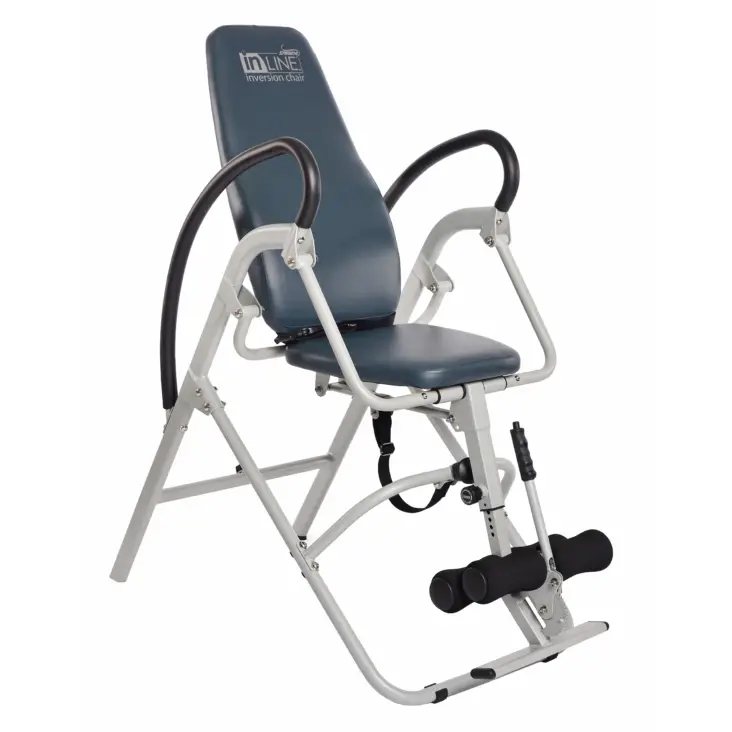
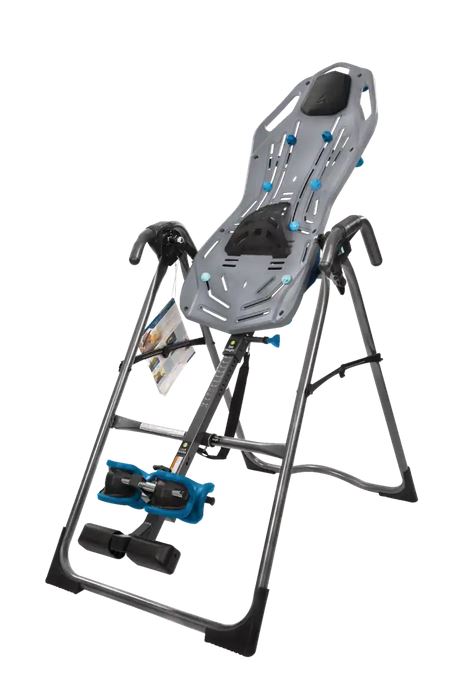
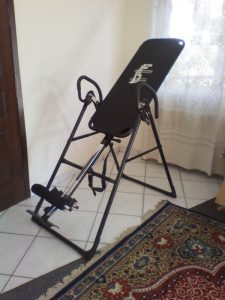
An inversion table is a piece of equipment that allows you to hang upside down like a bat and stretch your muscles. It’s designed to relieve back pain and improve circulation.
Inversion tables and Inversion Chairs are commonly used as part of physical therapy for back injuries, although there’s not much evidence that they help people with acute back pain. The American College of Physicians recommends them as a treatment option for chronic back pain, but it’s considered an alternative therapy.
Inversion tables can be expensive, but you can make one at home using materials purchased from your local hardware store or home improvement store. Here’s how:
Step 1: Buy Your Materials
As with most of these homemade projects, using high-quality materials is important. For your frame, purchase 2×2 timber and make sure you select good quality lumber that is straight, consistent, and free of rot or splits. Use 1/4 plywood for your tabletop and pay attention to how level it is before screwing it into place. If you don’t have access to wood, metal studs are another excellent option for both your legs and tabletop.
However, if using studs, remember they will rust, so you might want to consider painting them or coating them with an oil-based primer first. Whatever material you choose, ensure it’s sturdy enough to support your weight. The last thing you want is for something to collapse while inverted!
Step 2: Cut the Wood Pieces to Size
Cut the 2x4s to length. Measure the width of the 2x4s and cut them down to size. The table’s top should be about 18 inches long, and the width should be about 22 inches. Cut two legs for each side of the table, measuring about 39 inches in length.
Cut a piece of plywood to fit on top of your 2x4s. The plywood should be as wide as your table’s top and as long as both sides of its legs. This will be your table’s platform, so it needs to be strong enough to support your body weight when inverted. If you don’t have access to plywood, you can use any sturdy material to support your weight when inverted.
Cut another piece of plywood or other large material to cover all four sides of your frame (top and three sides). This will be used as a base for your frame; it should be at least 1/2 inch thick but no thicker than 3/4 inch, so it doesn’t weigh down too much on top of your frame.
Step 3: Assemble the Frame
You’ll need a drill, hammer, and some wood screws to assemble the frame.
-
- Place the two side pieces on top of one another with their edges flush. Drill pilot holes through both pieces and secure them with screws, making sure that the screws are tight enough that they don’t move or slip out but not so tight that they crack the wood.
-
- Repeat this process with the two ends, ensuring that all four pieces are flush with each other and level.
-
- Place your board in the center of one end and drill pilot holes through all four sides of your board into each piece of wood. Secure it by screwing it into place through these holes, again making sure that they’re tight but not too tight that they crack your board.
Step 4: Build the Tabletop
In this step, you will build the tabletop. It’s a small table that will support your weight when you are inverted.
Measure and cut your 2×2 lumber to length. You need three pieces: two 30-inch pieces and one 36-inch piece.
Use a drill to predrill holes in the center of each end of each board.
Attach the boards together with wood screws and finish nails. Start by attaching one end of the 36-inch board to one end of the 30-inch board, then attach another end of that same 36-inch board to the other end of that same 30-inch board, forming an “L” shape. Repeat this process with the other 30-inch piece to have two “L” shapes in front of you.
Flip these over, so they are on top of each other with their ends flush and aligned, then screw together through all four layers using 2-inch screws or longer if possible.
Step 5: Attach the Tabletop to the Frame
Lay out the top of the table on top of the frame to center with the front and back rails. Make sure that it is square to the frame by measuring from corner to corner and marking each corner with a pencil.
Put two screws in each corner, making sure they go into a stud or joist behind your drywall (not through the drywall itself). If there are no studs or joists behind your drywall, you can use a toggle bolt or molly bolt if you know where they are located in your wall (methylene chloride will dissolve them). Otherwise, you can use a power drill with an anchor bit to drill through your drywall into these hidden locations.
Attach one end of a level to each screw head and make sure that both ends are level. If either end is not level, loosen that screw and adjust until it is. Once both ends are level, tighten them firmly until there’s no more movement when you tap on them with your fingers or a rubber mallet.
How Does Inversion Table Work?
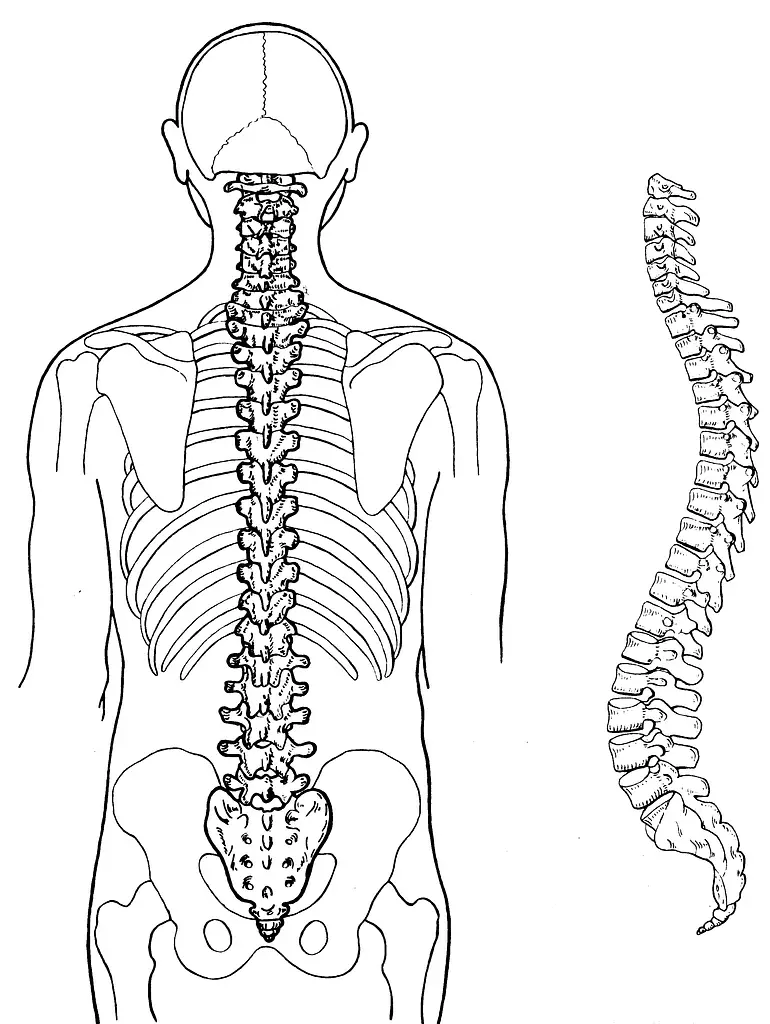
Inversion tables are an effective way to treat back pain and other health problems. They work by inverting your body when your head is lower than your heart. This puts pressure on the discs in your spine, which helps them decompress. This decompression results in improved blood flow and reduced inflammation, which help relieve back pain.
Inversion tables are also used to decompress the spine after surgery or injury. Gravity pulls on your body from all sides when you’re lying down. When you’re standing up, gravity only pulls from one direction down because your feet are anchored to the ground. But when you’re inverted (upside down), gravity still pulls on your body, but this time it’s pulling toward the ceiling instead of toward the floor. This means that any pressure built up in your spine will be relieved as soon as you flip over onto an inversion table and let gravity pull on it from above instead of below.
Make your Homemade Inversion Table Today!
So, you are probably curious about the safety of your homemade inversion table. The fact is, inversion tables have been proven to provide a host of overall health benefits. For decades, they have been used by chiropractors, rehab specialists, and physical therapists in many different settings.
The thing is, the manufactured inversion tables provided by these professionals cost a lot of money. There is a great deal of money to be saved by building your own inversion table at home, providing you plan it right.